Mapillary setup redesign
Having done some Mapillary imaging last year for example by Car or by bike i thought of using more professional stuff.
The more dense the map gets the more important it gets to actually go back and proof something exists as you mapped it. Mapping sidewalks, cycleways, surface and lit to all streets is a complex and time consuming task. So i plan to take images on all streets of my hometown and surrounding so i can do armchair mapping in the upcoming winter.
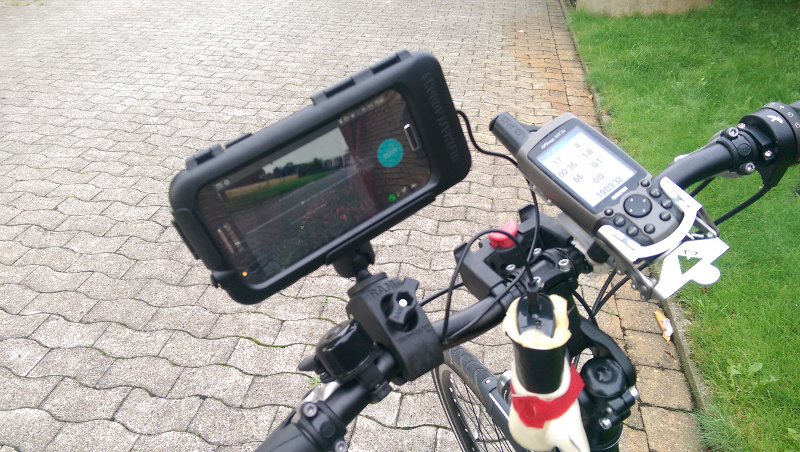
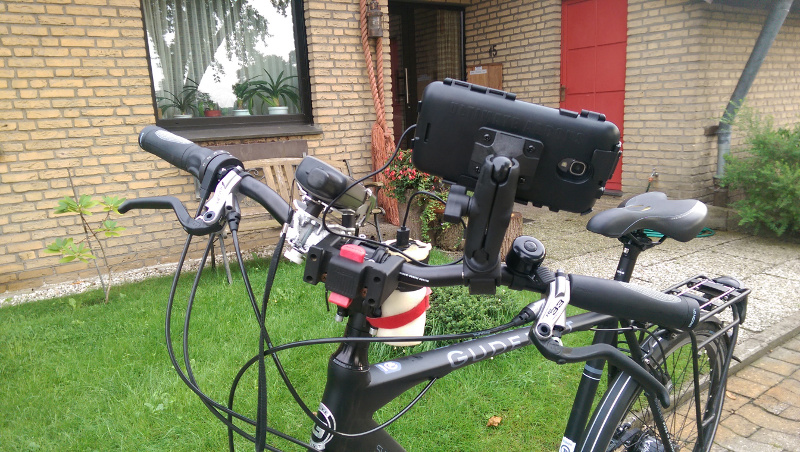
An old Galaxy S4 with broken cell receipt and broken glass used as a GPS enabled camera. Then some RAM mount gear and a buybits mobile cage you all can find on Amazon. This is all not cheap but worth the money.
Then i got into the pitfall only having a Class 2 MicroSD in the mobile which made problems storing the images fast enough. So that got replaced by a Class 10 or U1 which solved the problem.
Then on to fix the GPS reception problem with the Galaxy S4 in its cage. Reviving the years old Wintec WBT 201 or better known as G Rays 2. Pairing that with the mobile and using the developer mode of the Android and Blueooth GPS feeds the GPS informations to the mobile.
Now you need to turn off all "no shoot conditions" in the Mapillary app. Tilt, Shake, Face Down, Move too slow etc as the cage rattles a little so the app will basically NEVER shoot an image.
The problem left is that some images are upside down or rotated as the sensor said i was holding the camera upside down. Typically i delete those images but the App is not really user friendly in reviewing 1-2K images a day.